Posts

Bookends

Image
I saw a picture of a handmade rustic bookend with clavos and it gave me an idea to create western style bookends. The possibilities are endless! We have a lot of scrap ash wood in our shop, so I decided to make the bookends from those scraps. I had a set of small scroll shelf brackets and thought it would be an easy bookend. I cut out the scallop design on the scroll saw. All the bookends in this project are approximately 6.5" wide x 7.5" tall x 3" deep. The wood is 7/8" thick. The Boot and Horse cutouts are approximately 7/8" thick. I painted the wood dark brown acrylic, let dry, then antique white, let dry and sanded some of the white off. I screwed on the bracket, which held the bookend together. I traced the horseshoe onto wood and cut it out on the scroll saw and screwed the horseshoe to it. I spray painted it black. I found a few pieces of teak, glued and screwed them together and added 2 coats of polyurethane. I glued and s...

Horseshoe Dreamcatcher

Image
This project is my western style version of a dreamcatcher made with our XL Horseshoe . In some Native American cultures, the dreamcatcher is intended to protect the sleeping individual from negative dreams, while letting positive dreams through. I believe we all need one. I made several different dreamcatchers to inspire you with ideas when you make your own. All the supplies such as feathers, beads, thread, cord, and leather lace can be purchased at any craft store. Also, I gave a step by step tutorial on how I made one. The first version (above) I made years ago while experimenting. Leather cord was used, and I hung a horseshoe nail horseshoe on the webbing. I made the horseshoe many years ago by cutting, bending and soldering 2 horseshoe nails together in the form of a horseshoe and wrapping it with wire. This version is made with black waxed thread and I used a buffalo button on the webbing. This dreamcatcher I made with blue leather lace, attached a spur row...

Lasso Coat Rack

Image
I had a vision of a wooden coat rack with rounded corners and a rope around the edge. I set out to the wood shop to find a piece of wood and I probably had something in my mind. (Picky!) Well, after several trips to the shop, I didn't find anything. I thought about settling for a piece of plywood and torch it for affect. I turned and looked down and this piece of solid wood was just sitting there against the drill press, saying, "Take Me!" It was perfect! I used the scroll saw to round of the corners, then sanded it all over. This was a pretty piece of pine and I just wanted to clear coat it. Next I set a myriad of hooks and horseshoes on the wood to figure out what looked the best. I decided to use the horseshoe hooks from another project . I bolted in a rusted medium architectural star in the center and glued a handmade leather concho on top of it. I had a piece of rope left over from making baskets and nailed it around the edge with a brad nail gu...

Leather Covered Knife Block

Image
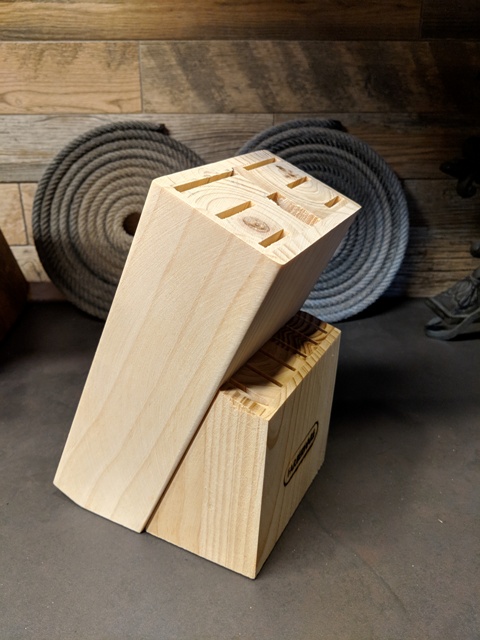
I saw a photo of a leather covered knife block and thought I can do this! I purchased an inexpensive knife block with knives to experiment. I made a template out of paper around the front of the block and cut the leather to fit. I stamped it and put a leather finish on it. I glued it on with Titebond regular one section at a time, letting it dry after each section. I wrapped paper around the back of the knife block to make a template for hair on cowhide. Cowhide is ready to be glued. I glued it on one section at a time, letting it cure between each section. I painted the white leather edges with a brown leather finish. I put Briwax on the unfinished wood. On each side I made a concho and glued it on with Gorilla Glue. I was pleased with the way it turned out. Try it and add some Western flair to your kitchen. Good luck!

Decorative Cross

Image
I was cutting out these shelf brackets from mahogany and noticed a pretty left-over design. Well, I must make something out of that! An idea came to me to make a Decorative Cross piece. The dimensions of this piece are 5" wide x 14" tall. I knew mahogany had a dark rich tone when sealed with a clear sealer. For contrast I squiggled some acrylic turquoise lines to look like turquoise inlay. Since this is the back, I could practice my technique. A Key hole was installed on the back for easy hanging. I put a finish on a Leather Cross , then glued on a metal Cross with regular Gorilla Glue. I've never used this glue before, and it worked great! I sawed off the little loop hanger at the top of the metal cross and filed any sharp edges. I wanted to sand some of the sealer so I could glue on the leather cross. I traced the cross onto contact paper, cut it out and taped it onto the wood. After sanding, I glued the leather cross onto the wood using...