Posts

Showing posts from May, 2015

Wood Star Candle Holder

Image
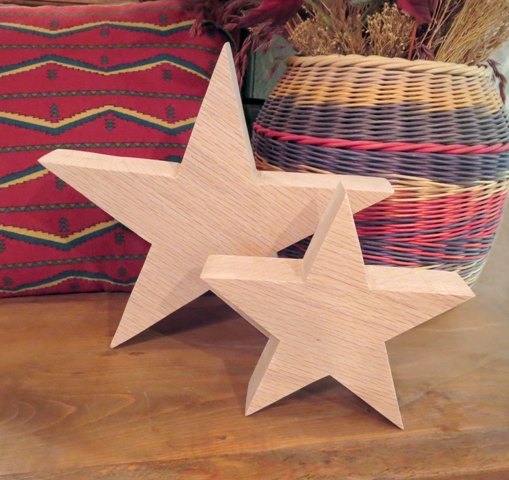
Remember the Chunky Wood Star from last week? Well, lay it down and drill a 2 1/8" hole with a Forstner bit and you have a candle holder. Paint or decorate it to your heart's desire and add a candle, glass votive or flameless candle. Fun for kids to paint, too! Here are some painted examples to spark your imagination. Here is one I spray painted with textured brown then sprayed a little black to give it the rustic flair. Paint it to go with your décor. This type of candle holder could be used in weddings, parties, and around the home. You can make it or purchase on the website here .

Chunky Wood Stars

Image
We have a lot of wood around the shop and I'm always trying to come up with ideas. I decided to make chunky wood stars that would stand on a counter, shelf or table. These are cut with a band saw out of red oak. The small star is 1 3/4" thick x 7" wide and the large star is 1 3/4" thick x 10" wide. I left them unfinished for creativity such as painting, staining, varnishing and decorating. These stars can be purchased from the website here . In the next post I'll show you how to use these stars to make a candle holder.

July 4th Candle Holder

Image
Time to get ready for July 4th or Memorial Day! I used one of the pallet wood candle holders . A 2 1/8" Forstner bit was used to drill the hole for a candle, flameless candle or glass votive. The hole was drilled 1" deep. I painted the top navy blue with little white stars. On the sides I painted the stripes several different ways until I settled on quirky. Small holes were drilled in the top corners for the mini star nails like in this previous post . The star nails were painted white. I found a star bandana, which I haven't been able to find since, and tied it around the wood. This would be cute for a table center piece for parties. This item can be purchased on the website: Candle Holder for July 4th

Wood Tray with Steer Drawer Pulls

Image
Here is step by step instructions on how we built a Wood Tray with Steer Drawer Pulls . You can build it yourself or purchase from the website here . We used 1 1/2" x 3/4" mahogany and ash wood pieces. The completed tray is 17" x 10 3/4". Place wax paper on the clamps and lay your wood out as desired. We used Titebond III Ultimate Wood Glue. Squeeze a line of glue and use a small brush to spread it out on one edge between the pieces. Let dry overnight. Sand with an electric palm sander. Since the ends were uneven we cut them that way on a band saw and used a 3/8" round over bit all the way around. Make a mark where you want the Steer Pulls to go. In this case there are 7 wood pieces and we wanted to use the middle piece for the pulls. (This photo and the next 4 photos aren't the actual tray, but is to demonstrate how to mark your drawer pull holes.) With a square draw a straight line where your made your mark. La