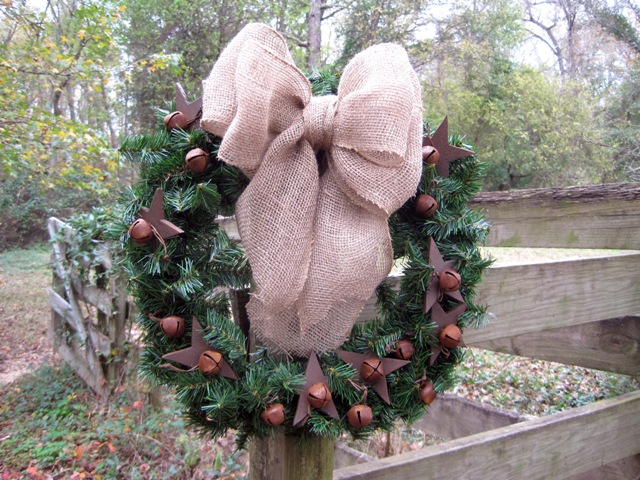
Posts

Showing posts with the label stars

Lariat Wreath

Image
I wanted to incorporate the Star in Ring into a Christmas wreath and was going to use green garland, but decided to use a lariat rope instead. I tied the rope onto the ring with leather lace and tied on horseshoes and a spur. This looked kind of messy to me. So I took everything off and started again. I wrapped the rope with jute twine at the top and on each side and tied it tight. It is holding the Star in Ring at the top of the rope. I stuck Small Star Nails into the twine and you may want to add some hot glue. The tasseled rope at the top was from another project and I placed it behind the star nail. Add a little glue here too. It is just a piece of lariat rope unraveled and wrapped with leather lace. I added a burlap bow with pine cones to the bottom. Leave that off for year round and decorate for other holidays accordingly. Have fun!

Texas Coat Rack

Image
I saw this coat rack in a local antique store and noticed many of the items are in our store so I thought I'd try to make one like it. I gathered pieces of weathered pallet wood, cut and placed them like I wanted them. Pictured are the approximate dimensions of the boards. They are 1/2" thick. The trim was cut on a table saw and they are 1/2" x 1". The finished project was 22 1/4" wide x 20 1/4" tall. My version appears to be a smaller scaled down version of the original. The boards were put together with biscuits and glue then clamped. The center support is 1 1/8" wide.  The trim was glued and nailed with a brad gun. The little corner pieces  are 1/4" thick and were glued and nailed with a brad gun. I bought 2 10" x 10" mirrors from the craft store and installed them with mirror clips. I sprayed all of the iron pieces with vinegar and placed them in the sun to rust. The iron pieces were then sprayed with a cl...

Star Garland

Image
I love rusty stars and bells and decided to make my own star garland. I cut eight 4" stars out of 1/4" plywood on the scroll saw, but if you're not a wood worker find wood or metal star cut outs at the craft store. You could use any kind of cut outs like hearts, angels or crosses. I drilled two little holes in each star and spray painted them with 'Autumn Brown' textured spray paint. Joann's had 60% off this carton of rusty bells so it was around $6 and I might have used half of them. I cut the brown 24 gauge wire a little over 5' long. Then just start threading the stars and bells onto the wire. The bells have little ties on them and they could be cut off but I left them on there just in case I needed them. I slid one end of the wire through one hole in a star, then the other hole and repeat to secure it. I slid on a bell to the middle of the star and threaded the other end of the wire through the other hole....

Chunky Wood Stars

Image
We have a lot of wood around the shop and I'm always trying to come up with ideas. I decided to make chunky wood stars that would stand on a counter, shelf or table. These are cut with a band saw out of red oak. The small star is 1 3/4" thick x 7" wide and the large star is 1 3/4" thick x 10" wide. I left them unfinished for creativity such as painting, staining, varnishing and decorating. These stars can be purchased from the website here . In the next post I'll show you how to use these stars to make a candle holder.

Wood Star

Image
I came across this website on how to make wood stars, so we got right to work, as it looked pretty simple. This star is made out of mahogany 1x2 standing on edge. It is approximately 16"x 16". We tried to build it with the 1x2's laying flat and the dimensions didn't work out, so we adjusted the dimensions and built it anyway. I like them both. The first star has 3 coats of marine varnish, so it could be hung inside or outside. The second star is also made from mahogany and has two coats of spray polyurethane. These would be great for décor or holidays.

Star Candle Holder

Image
I took one of our Wooden Candle Holders , stained it and partially sanded it. Holes were drilled in the top for the  Mini Star Nails which were painted red and green. I bent the nails over so when stuck in the candle holder they are standing upright. There are two types of Mini Star Nails. One with a short nail and one with a long nail. You may email me if you specifically want the long nail. I wrapped ribbon around the candle holder and tied a bow. Finally a cinnamon candle was added. You could tie on different colored bows for different seasons or holidays as well as painting the stars and candle holder different colors or designs to match your holiday.