Posts

Showing posts with the label craft project

Horseshoe Welcome Sign

Image
I picked up the cast iron Horseshoe Welcome Sign and placed it on a weathered board. I thought of putting a Tiny Horseshoe on each side, but decided to use Tiny Stars . I painted the stars to match the sign and screwed everything into the board with brown screws from the hardware store. I was going to stop right there, and I thought of hanging the sign with an old rusty chain. Instead, I took a piece of lariat rope and nailed it to the back. I wrapped leather lacing on each end leaving about 6 inches for a tassel, and begin the task of unraveling the rope, which takes quite a while. I wrapped a little lace on the top also. You can have fun with this. The kids can paint the stars and unravel the rope. Just place some wax paper on the table and use dark brown acrylic paint, let dry and add a little black.

Pallet Wood Boot

Image
This idea just hit me one day to make a pallet wood boot. I wanted it large so the size of this boot is 18" tall x 14" wide. As usual I just dove in without thinking about how to make a template. I laid out the boards and with a ruler started drawing lines to make the cuts to shape the boot. I changed my mind on some of the lines so I had pencil marks that couldn't be erased. Oh well, so I made the cuts on a scroll saw and laid the pieces on a 1/4" piece of plywood, traced around it and cut out the plywood. So I had my template. One should make an extra template out of card board or plywood so you have it for future use. I laid the template on another set of pallet wood boards and traced around it and made the cuts. I glued the pieces to the plywood template with Titebond III Ultimate Wood Glue, clamped them and let dry overnight. Now the fun begins! Here are a few ideas on how to decorate this boot. Paint on a message and add ...

Longhorn Bling

Image
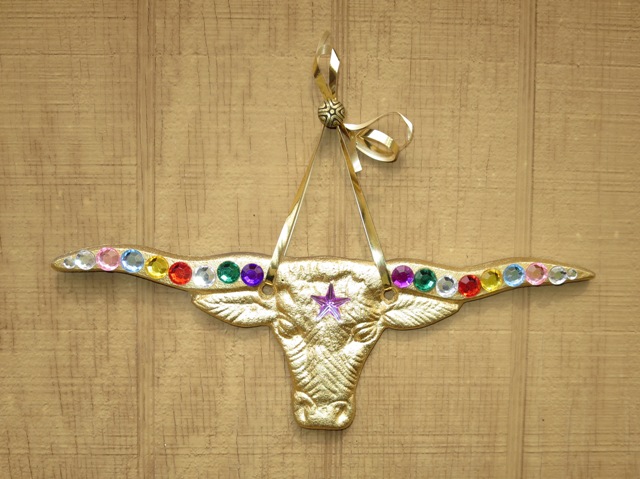
I thought it would be fun to fancy up a cast iron longhorn . I spray painted it gold and glued bling from the craft store on the horns. A purple star was added to the forehead.  I tied shiny gold ribbon through the mounting holes to hang. This could be a fun project for kids.

Wooden Candle Holders

Image
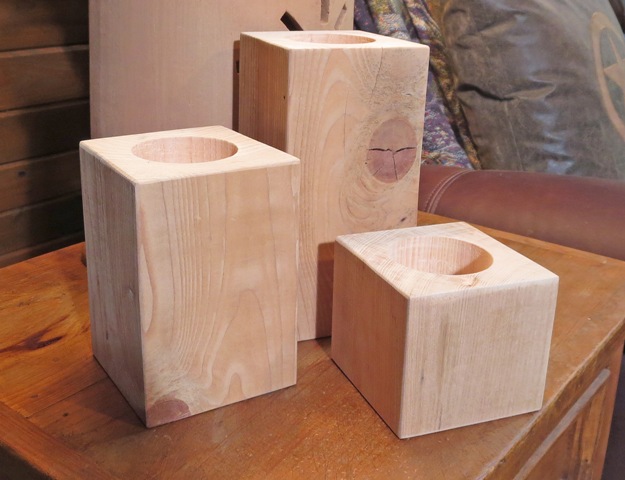
Many years ago a friend gave us several boards from huge pallets. They have been sitting around the shop until we could find some use for them. I came up with the idea to cut them up and turn them into candle holders .  It took a lot of sanding and no small chore to drill the holes. I'm not even sure what type of wood it is. So here they are bare bones and ready for creativity.