Boot Top Cross
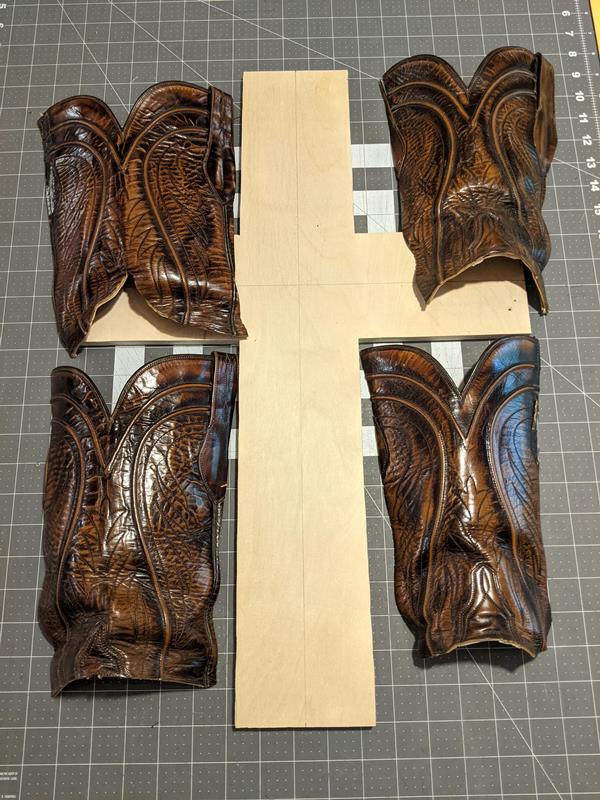
I found a piece of old plywood and drew out a cross with each leg being 4 inches wide. The plywood was 15 3/4" wide and I made the height 23". After it was cut out on the band saw, I realized the plywood needed to be thicker for tacks and trim, but now I had a cross template.
I cut a new cross out of 1/2" plywood.
I cut the boot tops off.
I marked a center line on each leg of the plywood cross and marked an arrow where the center of the boot top would be placed.
I measured past the arrows for the correct size of leather for the center of the cross. I used black scrap leather, cut it to fit and glued it on.
1/4" x 3/4" cedar trim was glued and nailed to the edge. Next time the trim should be 1 inch wide to accommodate the layers of boot leather.
I cut the pieces of boot top to fit like a puzzle. I added pieces of gold leather for contrast. I used thin gold leather pieces for the other three legs to match the bottom.
Starting from the center of the cross and working out I glued the pieces on with water-based contact cement. I sanded any smooth leather so the glue would adhere to it.
I placed different colored cowhide crosses in the center. When I placed the white one down, it just glowed and I knew this was the one! I glued on the cross.
I nailed silver upholstery tacks at the center of each boot piece. For the center of the cross, I drilled a hole for a turquoise rivet.
I was very pleased with how this Boot Top Cross turned out. Now you have the tutorial to make your own cross. What will it look like?


Comments
Post a Comment